10 Tips for Working with Teeny Tiny Pieces of Adhesive Vinyl
This post contains affiliate links.
Do you ever just NEED to create something? At least once a week I get an itch to get those creative juices flowing. I just need it like I need chocolate and naps. But I don’t have the time or energy like I used to. When I was younger and the need would hit me, I would go remodel the kitchen or build a cabinet or re-organize all of the shelves in the house. Now I barely have the time to color in an adult coloring book (can I just say that I may be the only person in America who just doesn’t get that trend?). So I find something quick and easy, but still creative.
One thing I love to do when the urge strikes is go make something with my Cricut Explore Air™ 2 machine, which sometimes means a new phone case sticker. My phone case is also an extra battery, so it’s not very cute. Just plain and white and so plain (did I say that already?). I like things to be full of personality, so I make a lot of different ones to fit whatever I feel like that day. Sometimes it’s Disney, sometimes it’s Young Living, sometimes I just want flowers or holiday style. I’m a woman of many moods.
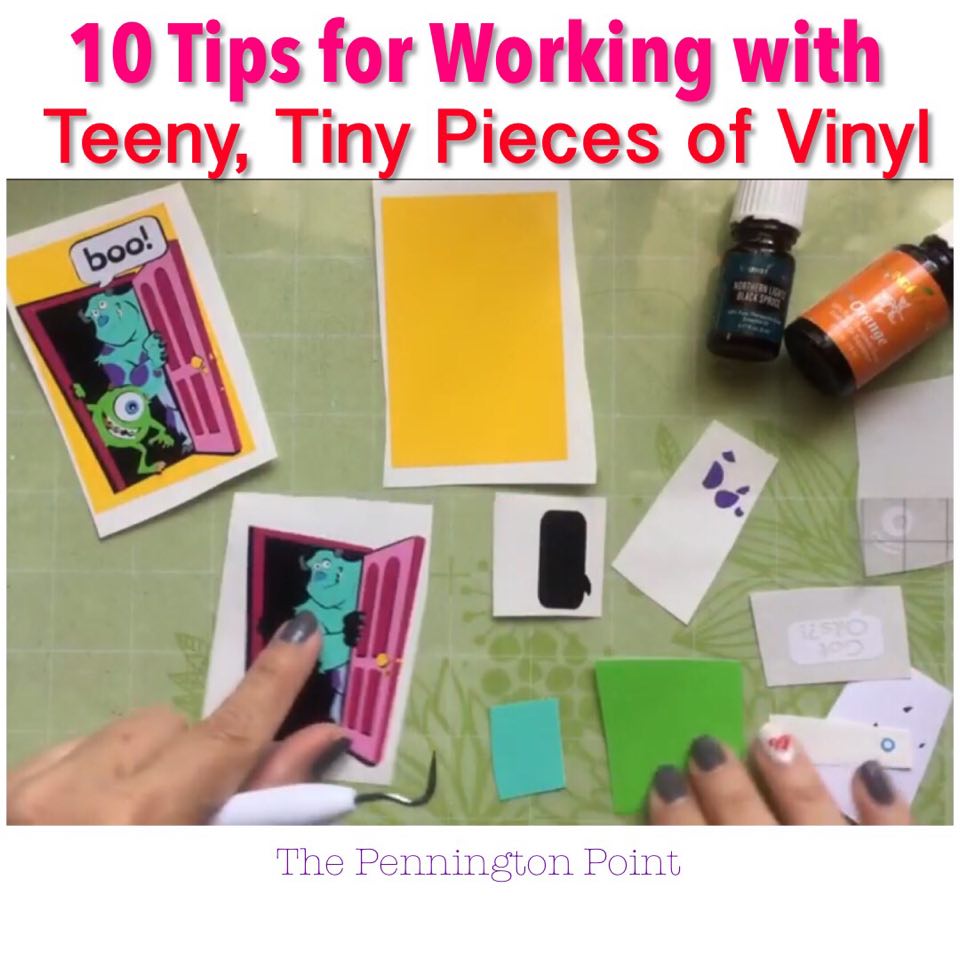
One thing though, because these stickers are small, the pieces of vinyl are really tiny and hard to work with. Like in the Monsters, Inc. sticker I show in the video below….it was a booger! A hundred teeny tiny pieces you have to cut out and layer. I learned these tips from making mistakes and figuring out solutions. I hope you will be able to skip the mistakes and go straight to easy creating!
Here are the 10 tips, in case you didn’t have time to write them down while watching:
- Lay out your colors before cutting. With all of these little pieces, it’s best to scroll through the mats right after to click “Make it”. You can zoom in at that point and make sure you know what each mat is for. Then just stack the colors in the order they will cut. Trust me, you’ll thank me for this one.
- Have a stack of scrap paper nearby. I do this anywhere I am working. I may need to jot down a note or idea or remember something for later. But in this project, you will use it for those weeded pieces. It’s SO much easier than trying to get them off your fingers and into the trashcan.
- Keep a bucket of scraps. OK, it doesn’t actually have to be in a bucket, but keep those scraps. You will be able to use them on these little cuts (you can also use them for fingernail art like I show in this video!) It will cut down the cost of these small stickers.
- Use reverse words. Honestly, I am not sure what it’s called and I probably should know, but here’s the deal. If you cut out teeny letters, they will peel and start to come off. So what I di instead is use the negative space and weed out the letters. Then use a pop of color for the background piece and your letters will stay on forever and ever. Or at least as long as you want them to.
- Weed everything first! Before you start assembling your project, go ahead and weed all of the cuts first. This makes it easy to see what you need to line up and it feels like it goes faster. Some of those babies are hard to weed, so be patient. Do your best to keep all of the pieces exactly where they are on the sticker backing when they cut….you’ll thank me later.
- Use clear transfer paper. This stuff is the best thing for small projects! As you can see in the video, it makes placing the tiny pieces so easy! Gone are the days of trying to move a piece smaller than a spec and hoping you get it in the right spot. Halleluyer!
- Work on top of a Cricut Mat cover. You will love this! I discovered by accident that the clear transfer tape will NOT stick to the mat cover. So now I always have one on the table and it makes the project easier.
- Don’t try to line everything up perfectly. You will make yourself crazy if you think you need to get each little piece on the sticker in the perfect spot. Just do your best and it will still look totally adorable.
- Cover it with clear nail polish. If you have a lot of tiny, tiny pieces in your project you will need to give your sticker some extra protection by coating the entire surface with clear nail polish. You can also use polyurethane spray, but it’s not as protective and you have to take it all outside and its messy….just use the nail polish.
- If you don’t want to do all this work, just print it! Cricut Design Space™ app will let you turn anything into a print option instead. I show one at the end of the video so you can see how different it looks, but its still cute and different.

I hope you will try making some of your own phone case stickers. They’re great for promoting your business or things you are passionate about. You can use these tips for making any small vinyl project from cards to bookmarks to a kid project! The possibilities are only limited by your imagination.
Have fun!
