5 Ways to Use a Cricut for a Wedding (or any party really)
This post contains affiliate links.
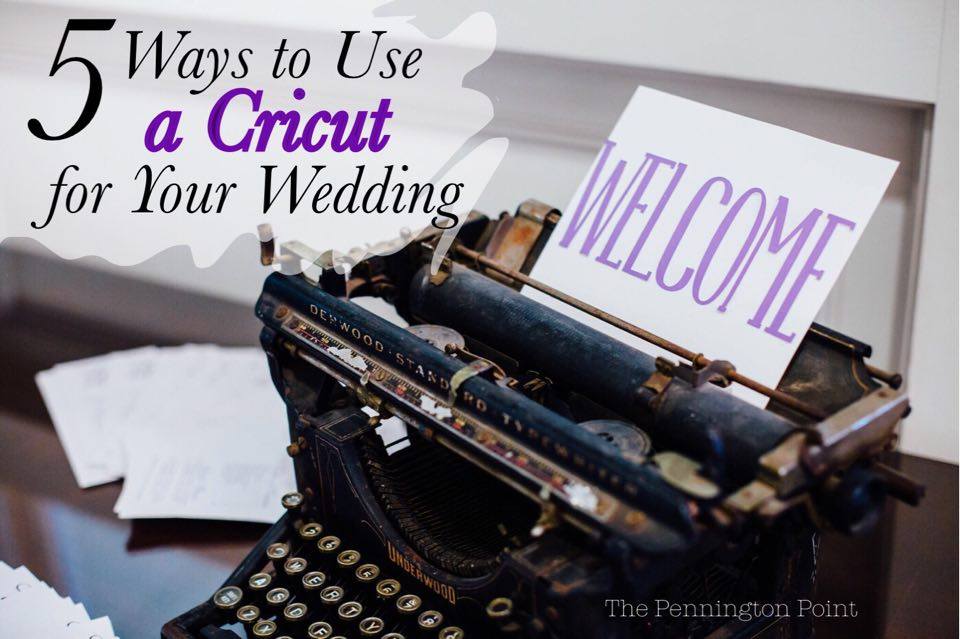
Have you gotten your Cricut Explore Air™ 2 yet? If so, be sure to check out my post about how to get started using Cricut Design Space™ (I use the app). I show you how to start slowly, learning as you go.
Today I want to show you some things I made for our daughter’s wedding. Weddings, parties or any gatherings are a perfect time to bring out the Cricut and bless your guests. The personal touch really adds to the event. I wanted our wedding guests to feel loved and cared for, but also to keep the focus on the reason we were all there.
My daughter’s wedding had a literary theme, so I used books and typewriters to add to the feeling of the couple’s love for reading. At the welcome table I used an old typewriter and my Cricut to welcome the guests.
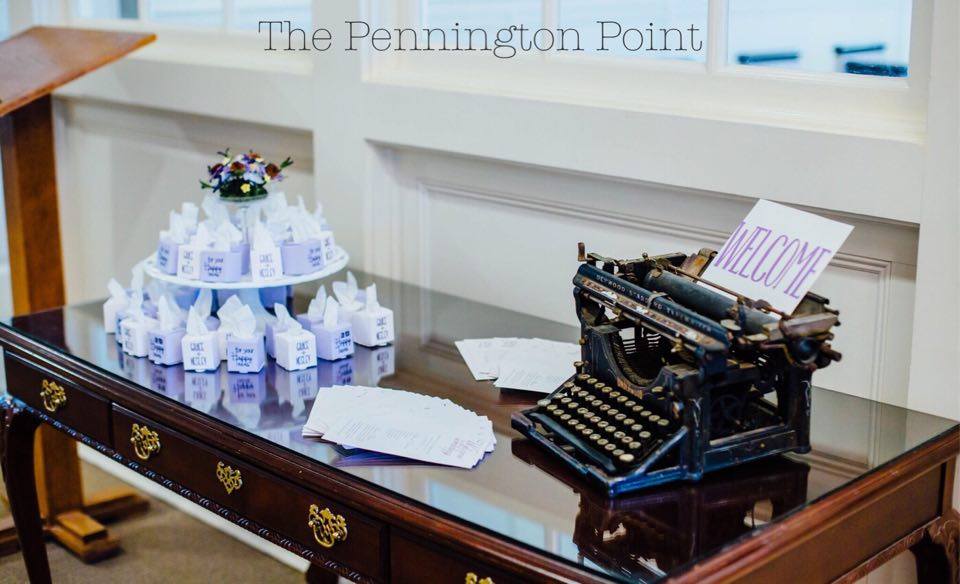
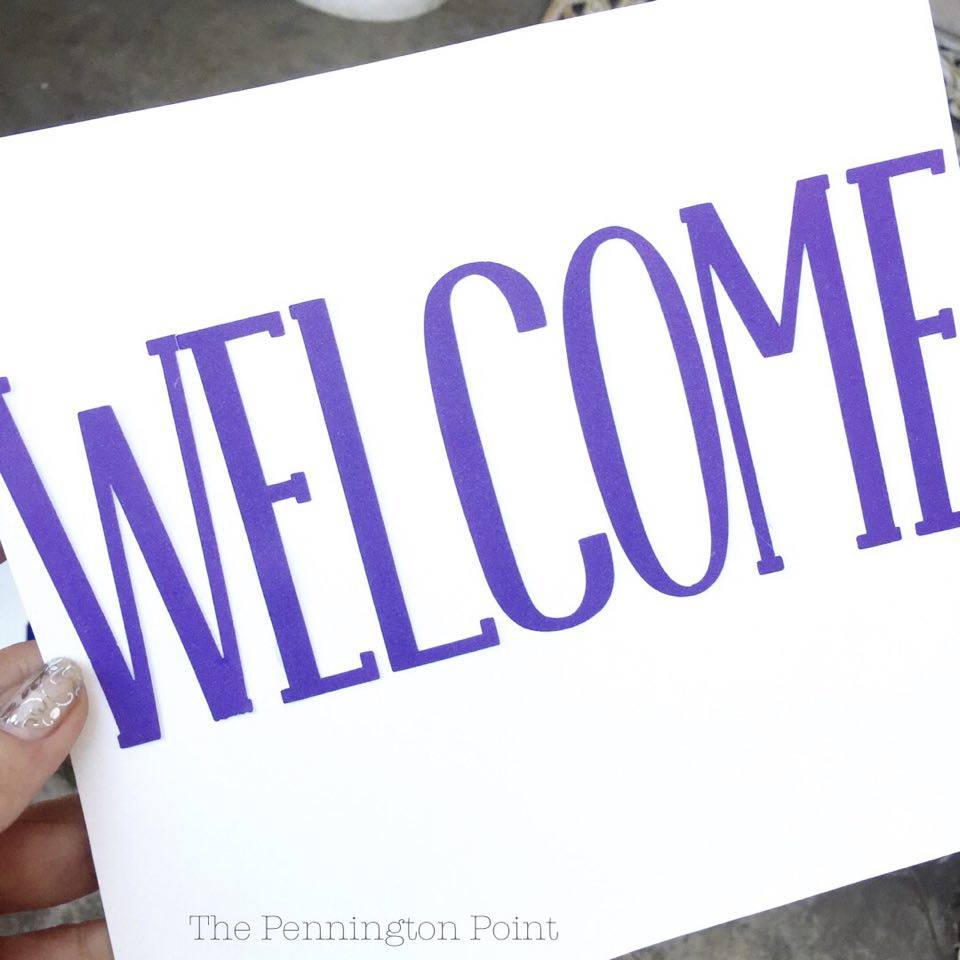
I simply used poster board and cardstock. It was as easy as opening Design Space, choosing a font, cutting and gluing. I loved how it showed the guests that we were glad they came.
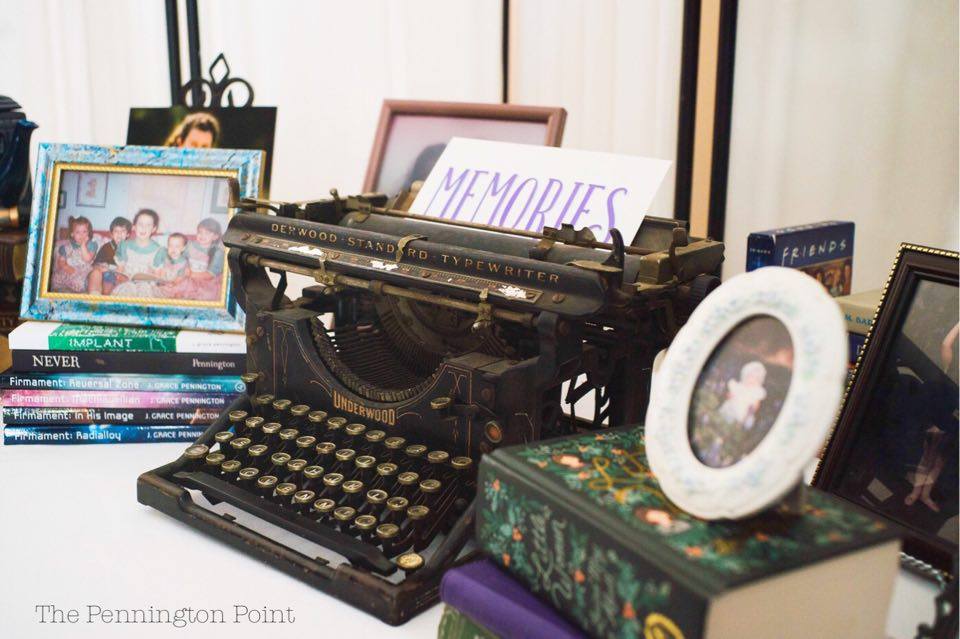
Then, during the ceremony, we snuck the same typewriter over to the reception and simply changed the sign. It was adorable on the table filled with childhood photos of the bride and groom and memorabilia.
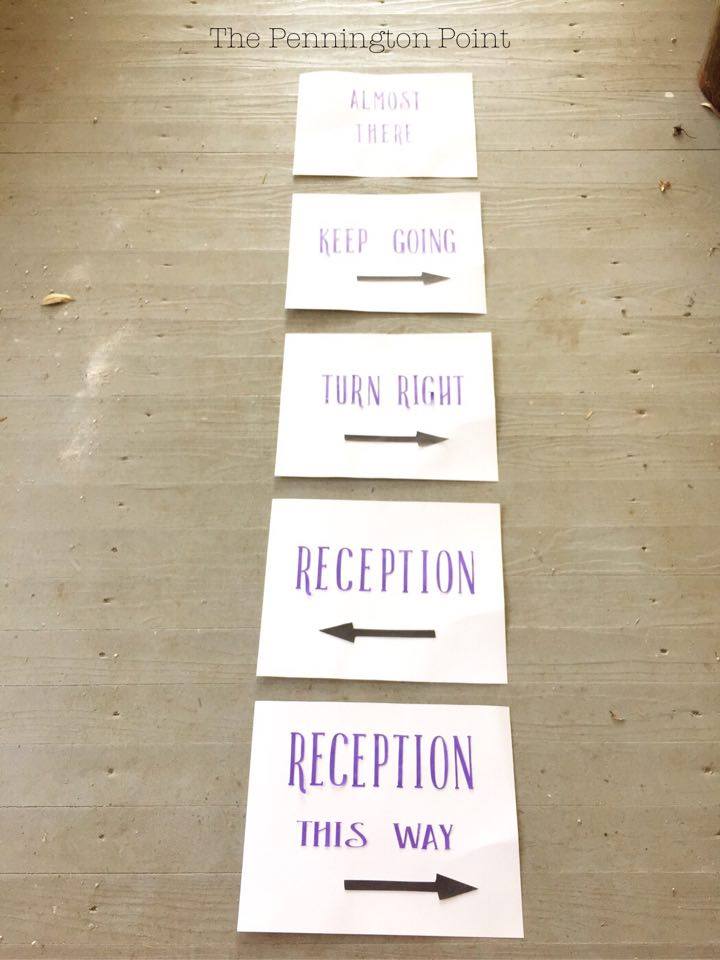
I used exactly the same technique to make signs giving directions to the reception. The church was doing some construction, so the path to the reception was a little out of the way. I made 5 signs to point the way with poster board and cardstock.
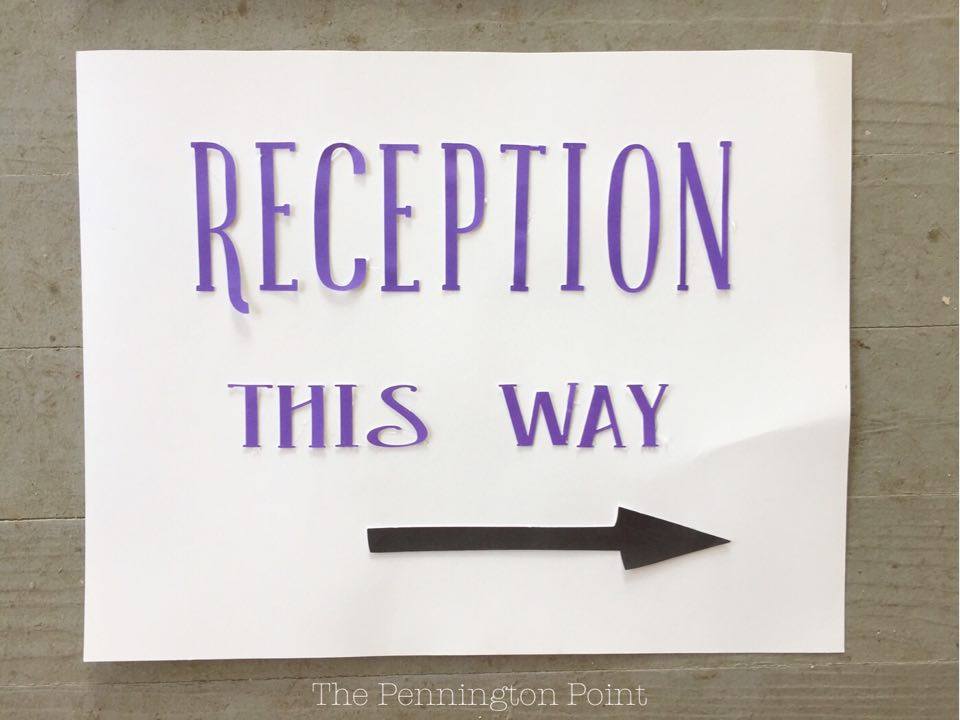
Cute, huh? I liked adding a touch of whimsy any place I could.
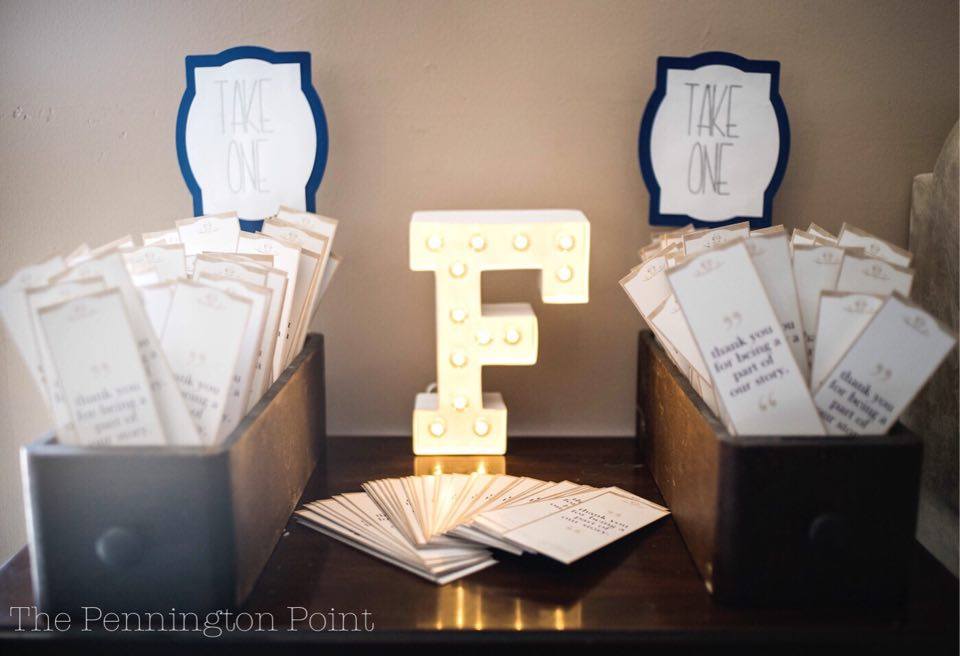
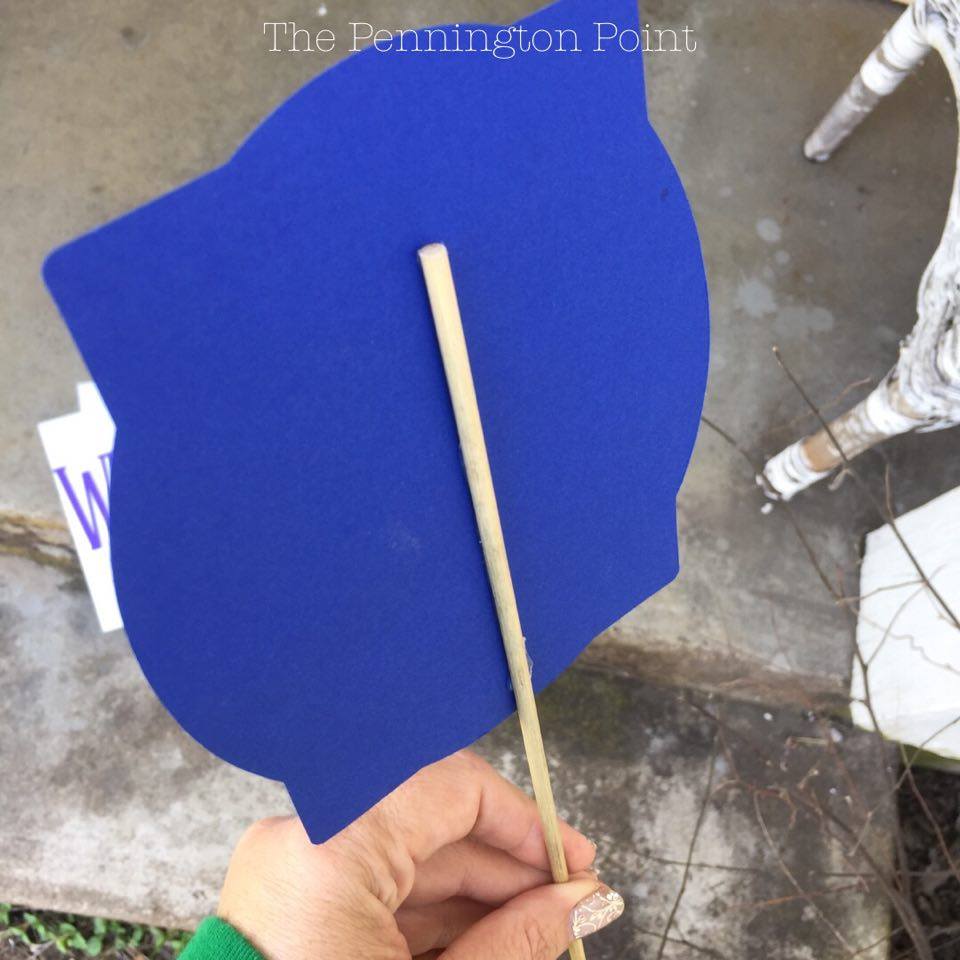
Next, I made little signs for our wedding favors. We were giving bookmarks to the guests as they left (Get it? Because it was a literary theme…). I used old sewing machine drawers filled with rice to hold the bookmarks, but I wasn’t sure if people would know they could have one. So I whipped out little signs telling them to “Take One.”
I love the feature that allows you to write with the Cricut!
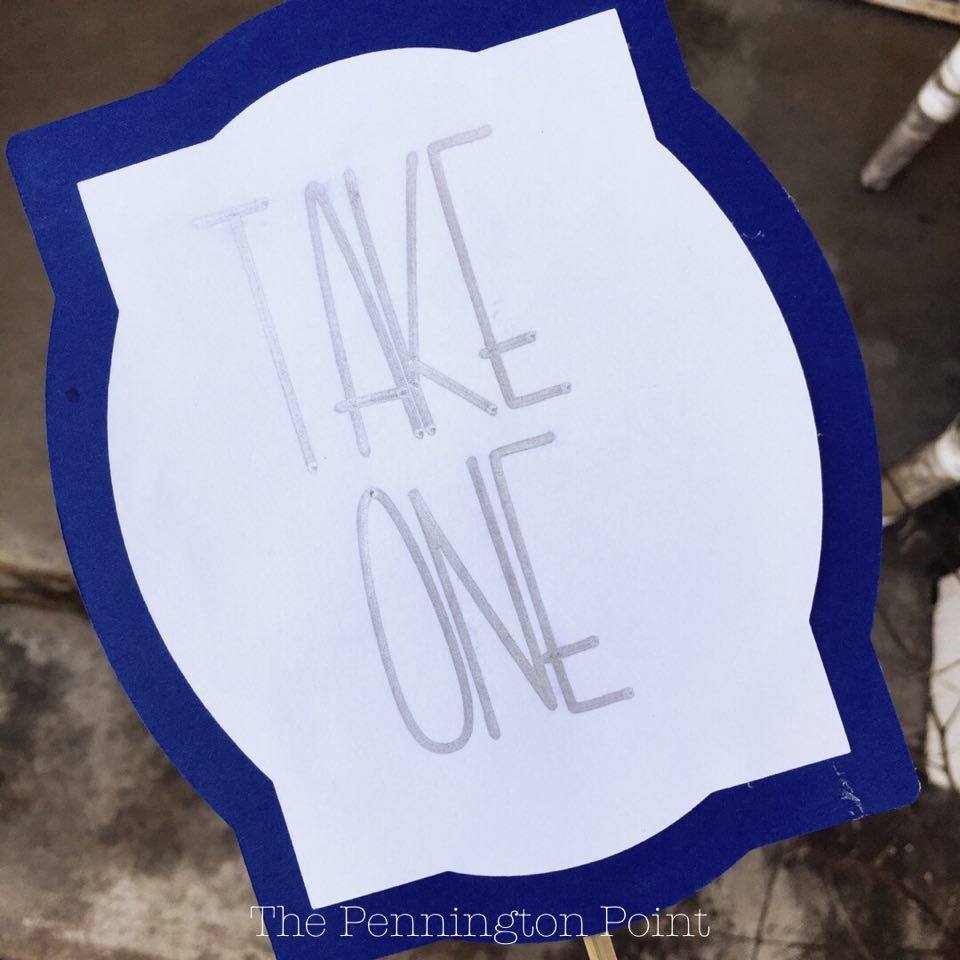
I just hot glued a skewer to the back and tucked the signs into the rice. So easy!
The fourth thing I wanted to show you is how I spruced up some gift cards. I wanted to send a thank you to my friends who came and helped so much. I really couldn’t have pulled it off without them. So I bought Chick-fil-A cards and added the word “Thanks!” to them with little hearts.
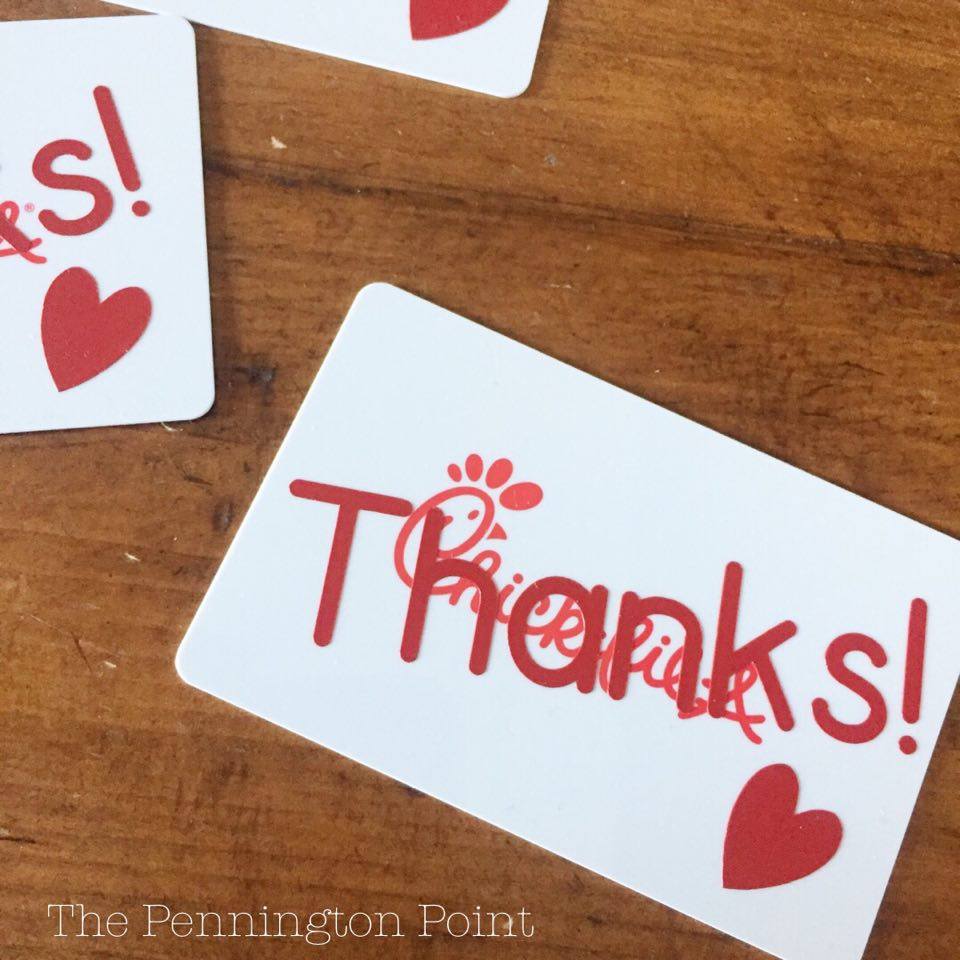
For those I used adhesive vinyl instead of cardstock.
These things are the simple ways I used my machine to make the wedding more personal and special. Each of the above projects would be an easy to do, even if you’re a Cricut beginner.
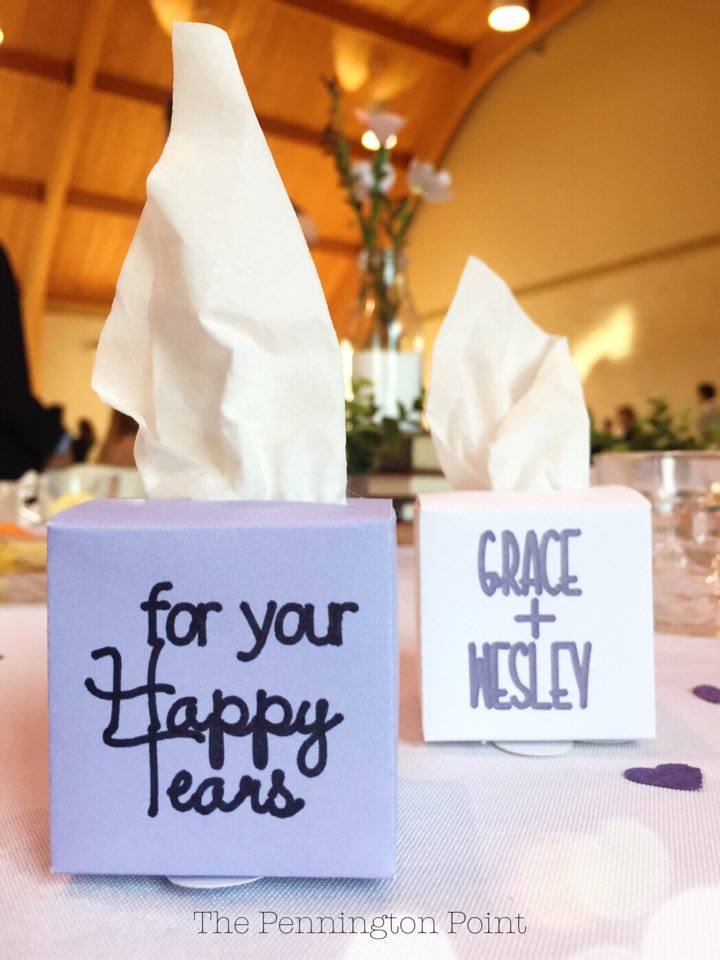
Soon I will share some more advanced ideas I made. Here’s a sneak peek (in case you noticed it already in the first photo ‘cuz you’re always so clever). I made these teeny tissue boxes. They were a huge hit and such a fun way to decorate with something practical. They are only 1 3/4″, so very small! I’ll be doing a video tutorial for you soon.
Now, get moving. Go make some stuff!!!
Hop over to Facebook if you have any questions about these projects. I’m happy to help!
More posts about using the Cricut:
1. Cricut Explore Air 2 Has Joined the Family!: Why I love this new machine and my history with using Cricut
2. How to Use Cricut Design Space: A photo heavy post with simple steps for getting started using the Design Space app
The Cricut Project Center will have a bunch or great ideas too!
This is a sponsored conversation written by me on behalf of Cricut. The opinions and text are all mine.