How to Paint a Houndstooth Rug
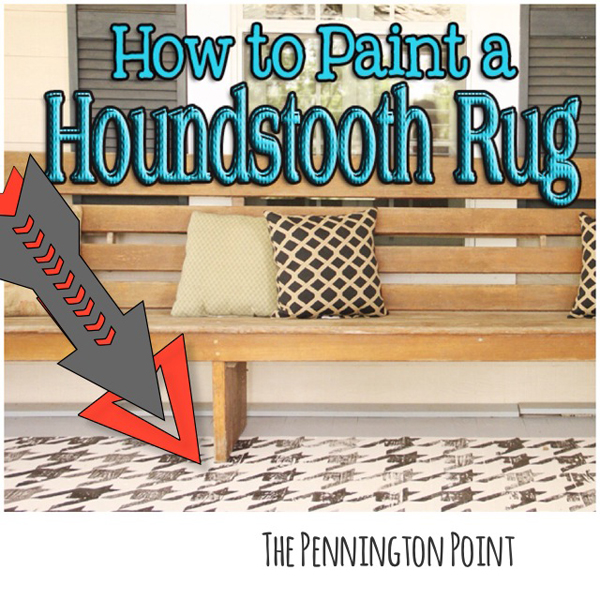
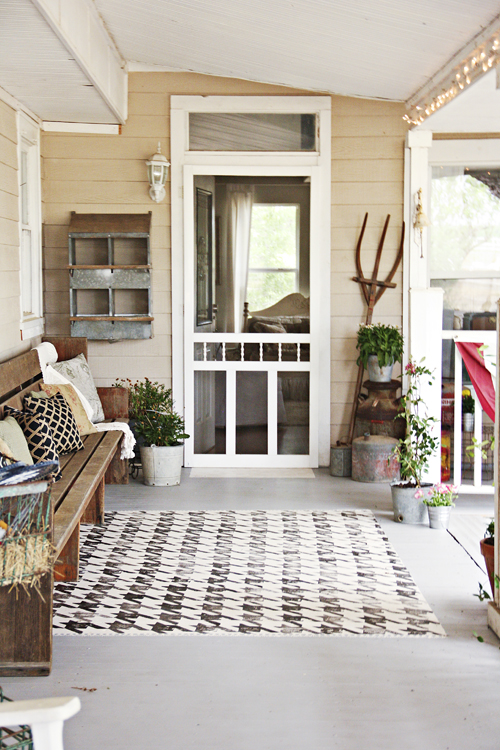
Last week I promised to share how I painted the rug on my front porch. And while I often break those promises and truthfully wonder why you ever trust me, I am happy to say that I actually pulled myself together and am doing it. I know. It’s as big a surprise to me as it must be to you.
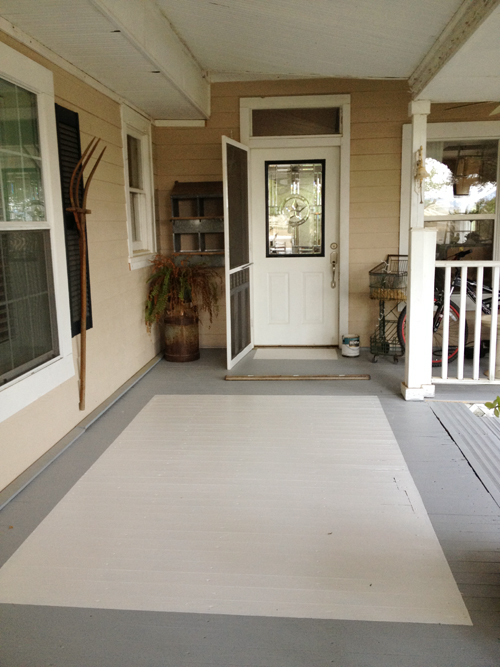
It started with a freshly painted surface. We cleared the porch, scrubbed it and gave it a new coat of paint. It’s SO good to have that floor clean again! If only for 5 minutes.
For the base of the rug, we marked off a rectangle the size of the rug we wanted. We didn’t tape it off because the last time I did that it pulled up the other paint and it just works better to draw a line and carefully paint up to it. For this we used some leftover semi-gloss paint from another project. You can use pretty much any water based paint.
By the way, I keep saying “we” because my daughter Hope helped me a ton with this project!
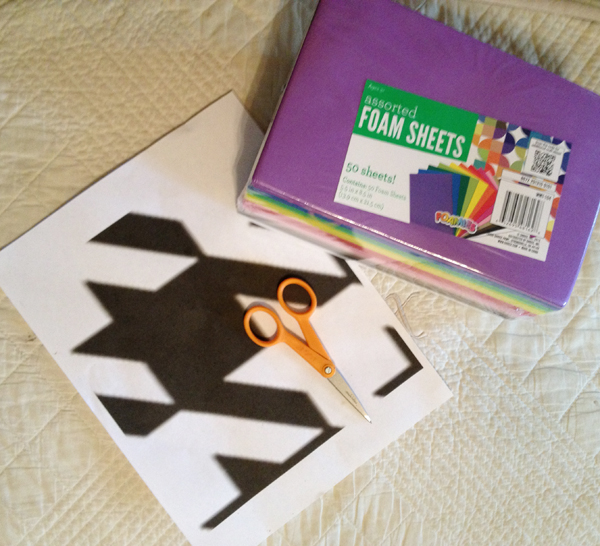
Next I made a stencil. I found a houndstooth pattern online, blew it up and printed it out.
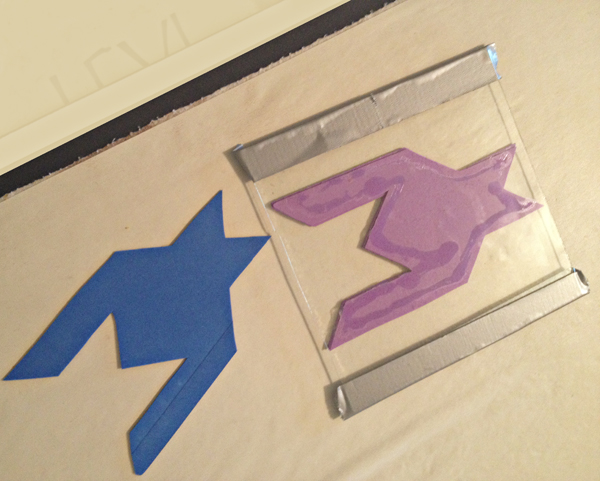
Then I cut it out of four pieces of foam sheets in that shape.
Next, and this is the best part, (I felt a little proud of this idea) I glued three of the foam cutouts together then glued them to a piece of glass (I had from a broken picture frame). Be sure to put duct tape on the edge of the glass so you don’t cut yourself! Also, you really must use three layers of foam sheets so it’s high enough to make a nice thick “stamp”.
The fourth piece will be used for spacing. Yep. It’s awesome. You can say it.
We used a foam brush to put black (again, leftover from another project) paint on our handmade stamp. After a few times we were able to make one application of the paint work for two stamps.
We snapped some lines to keep it straight. Although, if I were doing it again I would snap a line for almost every angle instead of just the few we did. It went a little crooked. But live & learn. You’ll do it better.
We stamped the first one in a corner then used the “spacer” to guide how far down to put the next one. That’s why the glass was so great. We could see exactly where we were placing the image. If the image didn’t stamp out all the way, it was easy to add a little paint and place it right back down and rock it a little if necessary. But I wasn’t going for a fully filled in image.
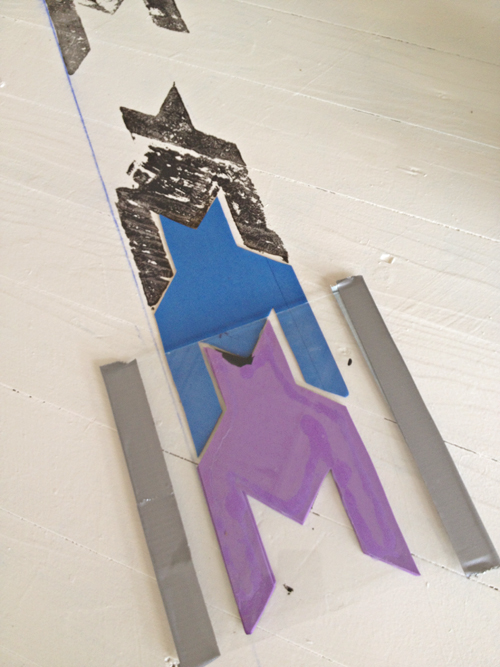
Occasionally we had to peel the black paint off our stamp because it would get too thick and not stamp well. But it was pretty easy to do.
Along the edges we would paint up/prep the stamp, then lie a piece of newspaper down along the edge so the stamp would only paint the rug and not go beyond that. Make sense?
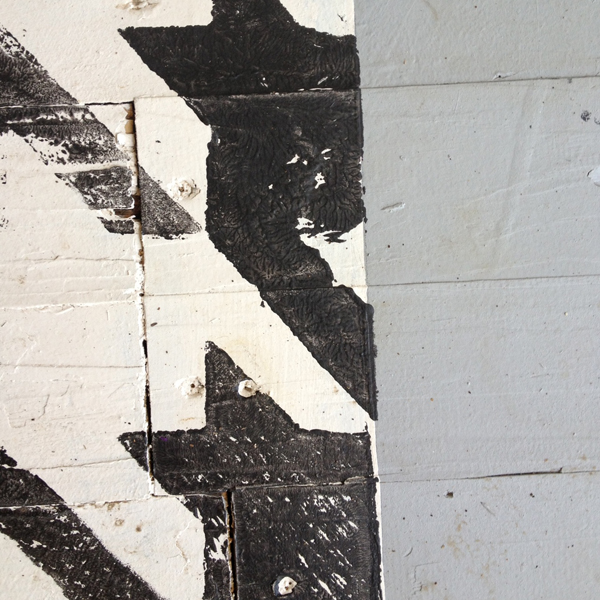
I used a pencil eraser (just dip the eraser in the paint and make a little circle) and a clean sponge brush to make fringe along the edges. (sorry for the blurry picture, but if we had to wait for me to take another one then this promised post would not have happened)
The whole project took about a day and a half.
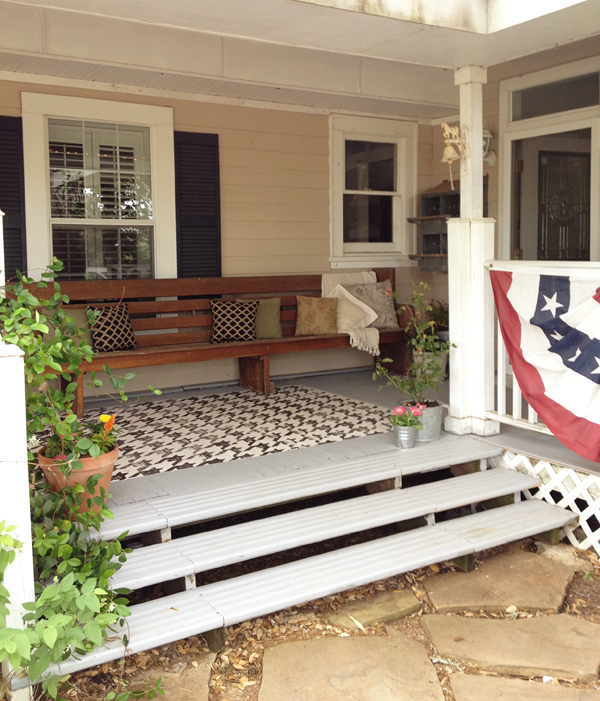
Thanks for stopping by. Be sure to follow me on Instagram for a steady stream of porch pictures because I can’t help myself.
That is great! What an innovative and cleaver way to create a painted rug! the stencil idea is genius! Did you topcoat it to help preserve it? I am hoping to strip down several layers of old cement paint form our porch and try to stain it this summer – we’ll see!
Heather, I did not give it any kind of protective coating. I find that yellows it and for the porch I don’t mind that it wears away over time. 🙂 Lisa~
I love your porch! You’re so clever!
Best project EVER!!!!! I’m so in love I can’t even express my amazement at your fabulousness!!!
🙂 Linda
This is a great project!
Now if I only had a porch to paint an awesome rug on!
Lisa, you know what you are? Brilliant. That’s what you are. This is absolutely, positively awesome. And using a sheet of glass to make your stamp? That’s double-brilliant.
I want to come sit on that porch!!
You are totally awesome Lisa!! I have painted floor rugs before but never onto the porch, I can’t wait to try this out. Thank You so much for sharing your creative ideas. 🙂
It looks wonderful. Great tips for making the stencil. Cheers
Can we be friends?! Then, maybe some of your brilliant creativity will rub off on me! What a blow-me-away, fantastic idea this was!!!
That idea is just genious!
What a fun idea and allows for many helpers!! I think I will try this in my garage for all the pics I take of furniture… instant rug!! Thanks for the inspiration!!