Make Your Own Nail Art Stickers
This post contains affiliate links.
Have you gotten into the nail trend of putting stickers on? I started buying nail stickers a couple of years ago when my daughter got me into it. But they are pricey, so I got away from it. And I always had some leftover on the sheets that I bought that I didn’t need.
Then it occurred to me that I could make my own nail art with my Cricut Explore Air. I tried a bunch of ideas and so far they’ve all been cute. I’ve showed them to a few of my nail art loving friends and the number one question they ask is, “How long do they last?” So far everything has stayed on until I was ready to take them off. The longest I’ve left them is 2 weeks, so that’s the extent of my testing.
This is filled with unlimited possibilities!
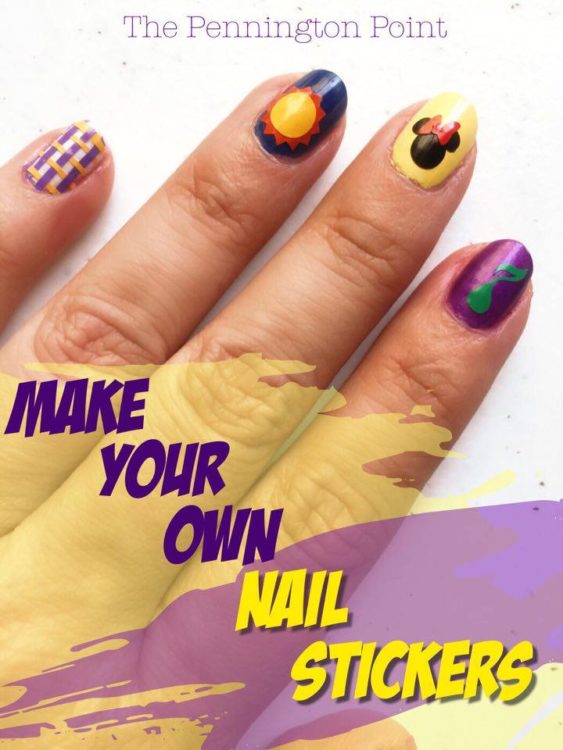
I can’t decide which is my favorite in the photo above, the Minnie Mouse or the Young Living style drop. You have so many options by just changing the nail polish color and the vinyl you choose. You could make it more subtle if you wanted by using similar colors.
For the nail stickers, you want to choose designs that aren’t super detailed. Those itty bitty details won’t cut well and even if they did you’d never get them separated from the pieces you want. Ask me how I know.
You want to use permanent adhesive vinyl (or Series 51). The repositionable stuff won’t stay on. I did try it, so trust me….don’t mess with it. The cool thing is that you can just use scraps from other projects! Or if you have a friend with a Cricut, ask them to save their small scraps and go over and make a bunch of nail stickers one day. What fun!
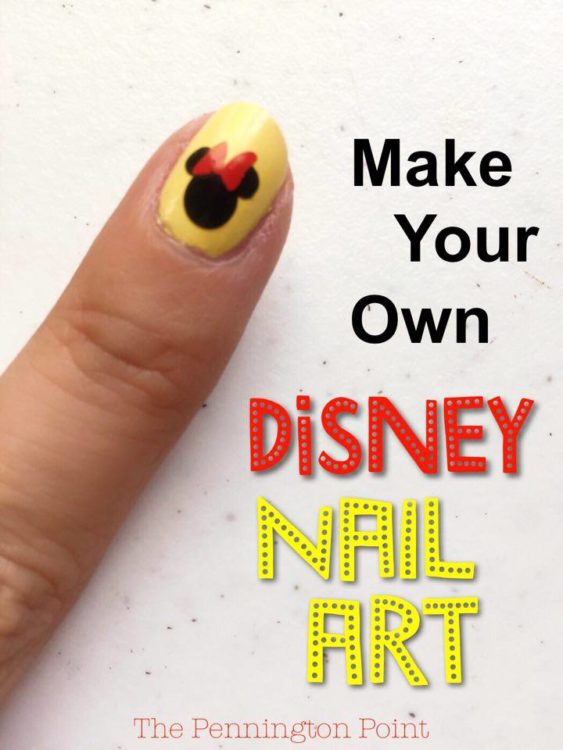
The Disney nails made me think of how fun this would be for a birthday party! Just cut a bunch out and give the girls some nail polish and upbeat music and let them decorate their nails. You could make faces, bows, flowers, cupcakes, teddy bear faces, lips, hearts, owl, footballs, suns, Christmas trees, there’s no limit! You could make each girl a sheet with a bunch of different stickers and let them have at it.
Once you’ve applied your polish (if you want a bottom layer of polish, you don’t have to!) them let it dry completely. Then apply the sticker. These are so sticky that they’re not going to move easily once you stick them, so be careful. Then put a layer of clear top coat (you do need this one). To remove it, just use nail polish remover.
I will be wearing these purple drops to the Young Living Convention in June. So FUN!
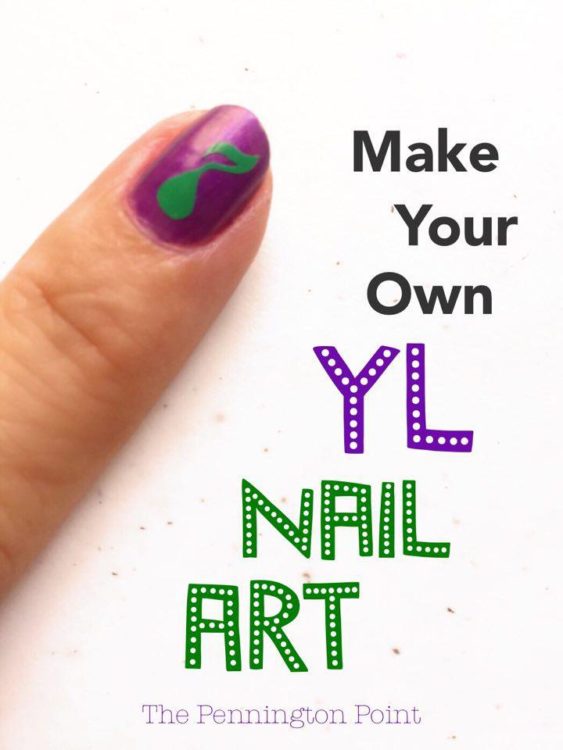
Here’s a video showing how I made these drops. They’re so simple and you could make variations of them them for so many things!
Thanks for stopping by!